Overview
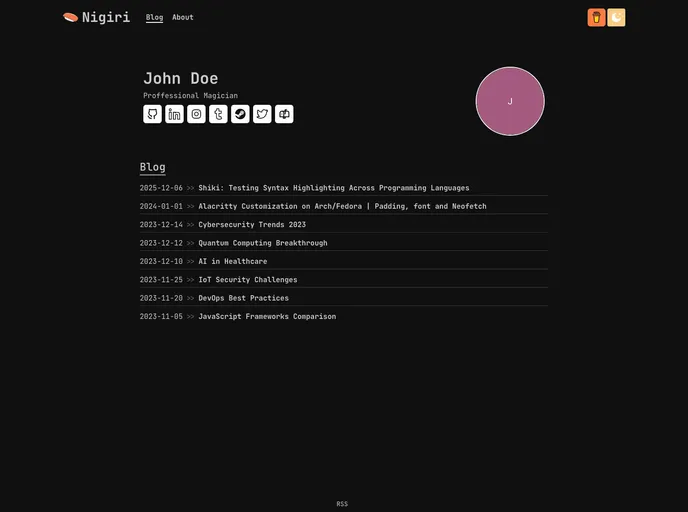
The Nigiri Template is a customizable blog template that allows users to easily create a personalized blog. The configuration of the blog is managed through a YAML file named configuration.yaml located in the main directory. This documentation provides details on the available configuration options and their usage.
Features
- Site Information: Set the website title and meta description.
- Profile: Configure your name, surname, professional identity, and profile picture.
- About: Add paragraphs about yourself and your work.
- Social Media: Provide usernames for various social media platforms.
- Email Address: Display an email address icon after your social media links.
- Buy Me a Coffee: Add a “Buy Me a Coffee” button in the header.
- Other (UI): Configure the visual appearance of the blog, including profile picture border, maximum number of posts per page, and disabling the “about” page.
Installation
To install the Nigiri Template, follow these steps:
- Download the template files.
- Navigate to the main directory of the template.
- Locate the configuration.yaml file.
- Open the configuration.yaml file and modify the configuration options as desired.
- Save the configuration.yaml file.
- Start your blog using the modified Nigiri Template configuration.
Summary
The Nigiri Template is a customizable blog template that offers various configuration options to personalize your blog. With features such as configuring site information, profile details, social media links, and even adding a “Buy Me a Coffee” button, the template provides flexibility for creating a personalized blog. The installation process involves modifying the configuration.yaml file to customize the template according to your preferences.


