Overview
This article provides an analysis of a Next.js starter stack utilizing React.js, Next.js, MongoDB, iron-session, eslint, prettier, and yarn. The stack is designed for front-end development with server-side rendering and API routes. It offers features such as authentication session handling, code error identification and fixing, common code style configuration, and package management.
Features
- React.js: Front-end development framework.
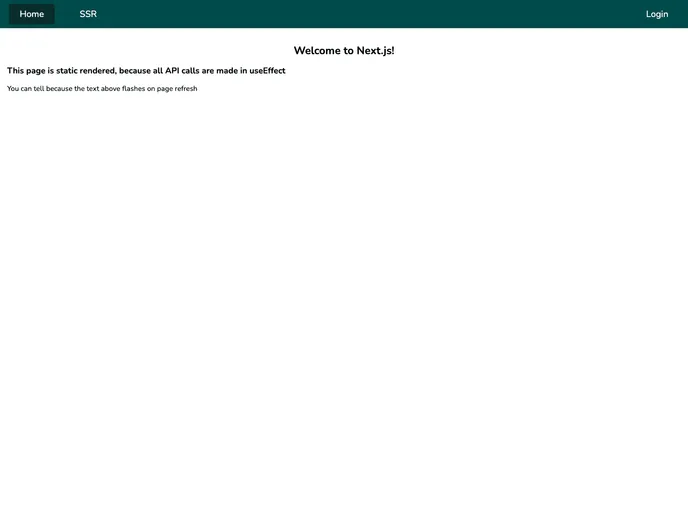
- Next.js: Supports API routes and server-side rendering.
- MongoDB: Permanently stores information for the application.
- iron-session: Handles authentication sessions for server-side rendering and static site generation.
- eslint: Automatically identifies and fixes code errors.
- prettier: Sets a common code style and fixes any issues.
- yarn: Package management for the project.
Installation
- Initialize environment variables:
- If you are setting up the project for the first time, refer to the Bitwarden guide and run
yarn secretsto sync development secrets from Bitwarden and save them to a local.env.localfile. - If you are using Windows, use
yarn secrets:loginand thenyarn secrets:syncinstead.
- If you are setting up the project for the first time, refer to the Bitwarden guide and run
- Updating environment variables:
- For development, update the
.env.localandnext.config.jsfiles. - For production, add the environment variables to your host and never commit the
.env.localfile to version control.
- For development, update the
MongoDB Setup
To use MongoDB with the project, follow one of the following options:
Locally (Docker - RECOMMENDED):
- Download and install Docker Desktop.
- Run
docker run --name mongodb -d -p 27017:27017 mongoin your terminal. - Open Docker Desktop and confirm that your MongoDB image is running on port 27017.
Locally (Non-Docker):
- Download MongoDB Community Server and follow the installation instructions.
- Keep the port as default 27017.
Remotely:
- Create a MongoDB instance on MongoDB Atlas.
- In the Security → Network Access section, add the IP address
0.0.0.0/0(all IPs). - In the Security → Database Access section, add a new database user.
- In the Data Storage → Clusters section, find your cluster and click Connect.
- Connect your application and copy the connection string, then set the username and password in the
.env.localfile. - Create the
nextjsdatabase (or choose another name, but update it in.env.local). - Install MongoDB Compass to visualize the database contents.
Node Setup
- Clone the project to your computer.
- Navigate to the project directory in the terminal and run
yarn. - Rename
example.envto.env.localand fill it out with the development configuration.
Running
Development:
- To understand the code better, follow the Code Tour.
- Run
yarnto install dependencies. - Run
yarn devto start the development server.
Production:
- Set up your host or virtual machine and ensure the necessary environment variables are configured.
- Run
yarn installto install dependencies. - Run
yarn startto start the production server.
Summary
This analysis outlines a Next.js starter stack with React.js, Next.js for server-side rendering, MongoDB for data storage, iron-session for authentication session handling, eslint for code error identification, prettier for code formatting, and yarn for package management. The installation guide provides detailed instructions for setting up the theme, configuring environment variables, and running the application in development and production environments.


